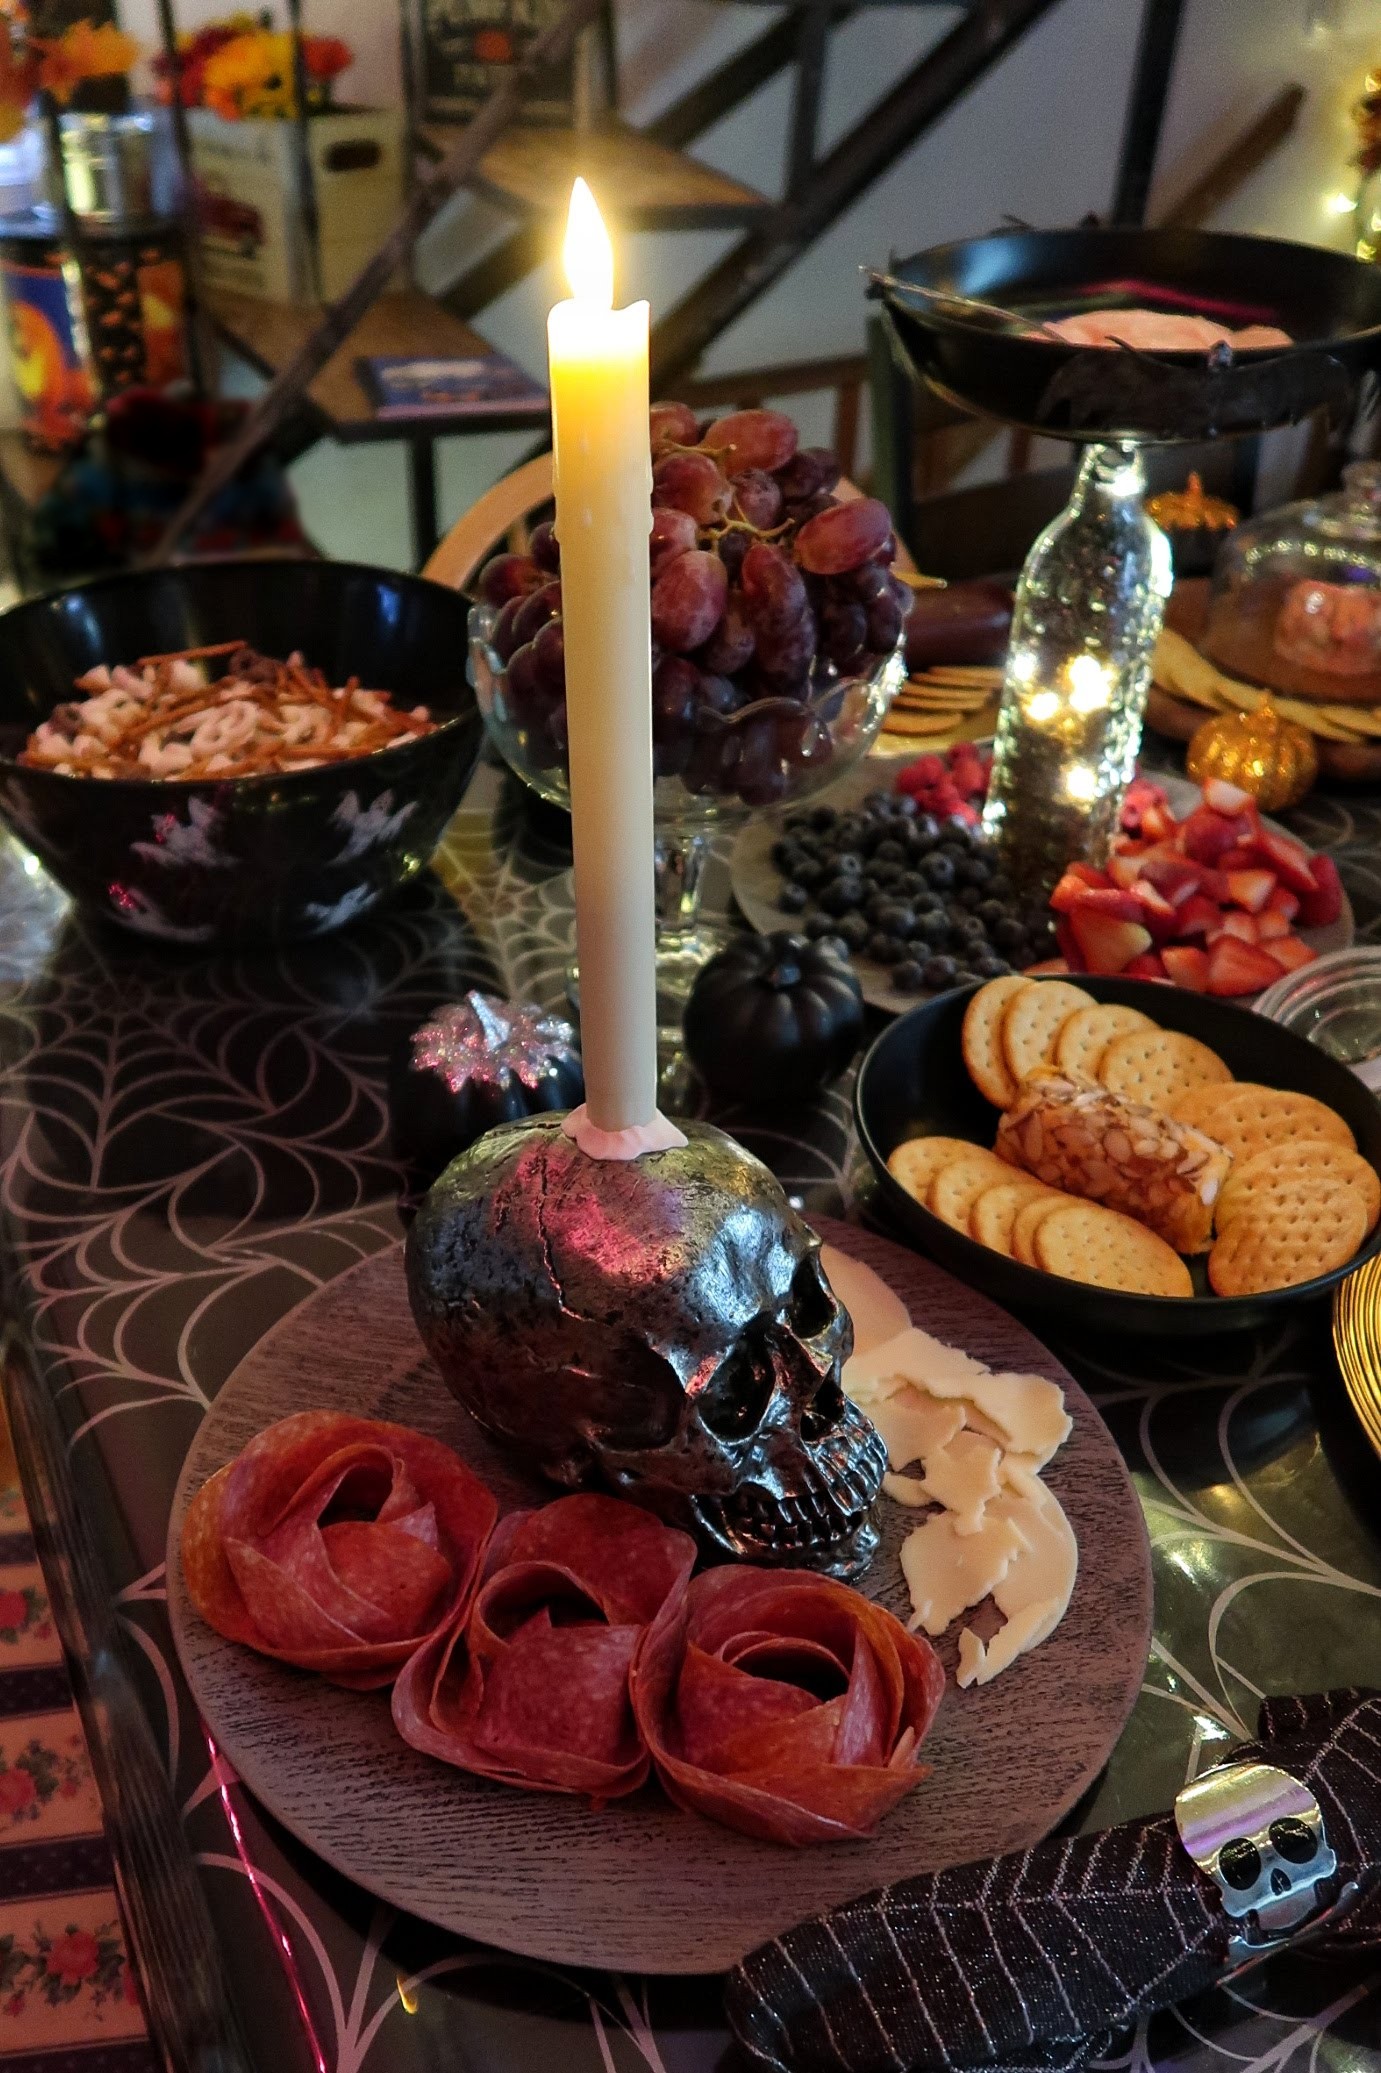
It’s that time of year again when everyone is losing their heads over charcuterie boards. Get it? Heads? Okay, I’ll try to stop with the puns. Anyway, what social event isn’t quite complete without a nice meat and cheese board? Furthermore, what table setting just isn’t complete without a lovely skull with a candlestick stuck through it? I mean everyone knows that a good table arrangement can really set the mood. It’s a real skull-duggery to find the perfect centerpiece, don’t you think? Sorry… again…couldn’t help myself.
Easy Centerpiece
Well, search no longer, my friends, because I’ve unearthed the perfect skeleton…I mean charcuterie board centerpiece that will make everyone’s jaws drop – without digging too deep into your pockets or time. All you need are the items listed below!
Material:
- 1 – metallic skull (courtesy of the local craft shop)
- 1 – battery powered candle stick (courtesy of Amazon – We’ve linked it here!)
- 1 – wooden or plastic tray (Mine is a plastic tray that looks like wood.)
- 1 – Thimble Strike 1in (optional)
- Store sliced Pepperonie and Salami
- Your choice of Cheese (We used sliced provolone and ripped it up to make it look a little more rugged.)
- Oven Baked Clay
- A glass cup (for use in forming the lovely meat roses)

These candles are so fun to incorporate into your holiday decor. They have an authentic-looking wax drip, a flicker setting and a remote control. Better yet, they are rechargeable! They add a cozy atmosphere without the fear of fires. Check them out at the link below!

Instructions
- Place the skull in the middle of the wooden or plastic tray
- Make sure the candle stick is turned to the on position.
- Position the candle stick near the center of the skull and secure in place with some oven baked clay or modeling putty. Do not use air dry putty! I only chose to use this type of clay because it would be easy to remove once the party was finished. Also, be sure to remove the clay from the candle stick once the party is over so that the clay does not start to dissolve the plastic.
- Use your glass cup to arrange your pepperoni and salami in different layers along the rim to shape roses.
- Arrange cheese, meets and fruits around the skull
- Dim the lights, grab your candle stick remote and watch your guests lose their heads… I mean minds as they admire your spooky table
No Kidding!
It really is that easy! But if you’re up for a challenge and want to make something more permanent, follow the steps below.
Adventurous Instructions:

If you’re handy with power tools or know someone who is (mine would be my dad), you can also make a more permanent alteration to your skull candle holder. If your skull is solid (I believe mine was made out of fiberglass), you can use a 1 inch hole saw (Be sure it’s sharp. You don’t want to crack the skull.) to drill a hole into the top of the skull. You can then place a 1-inch thimble strike into the hole you just made, securing it with glue or epoxy.
If you choose to go this route, be sure to use appropriate safety measures.
Want some more inspiration for awing your Halloween Dinner Guests? Check out my post on brewing up some spooky Halloween fun here!
Or explore some more Halloween fun below!


Let us know what you think